If you need to embed a media player into your Java desktop application, there are several options for this:
- You can use JavaFX Media API to implement all the required media player functionality.
- A bit outdated but still functional Java Media Framework can be a solution.
- You can integrate a third-party Java library like VLCJ which wraps the functionality of a native media player.
Each of them has its pros and cons:
The JavaFX Media API approach is cross-platform and can be used
on Windows, Linux, and macOS. It works well for JavaFX. However,
if you use Swing or SWT, you will need the bridges such
as JFXPanel
and FXCanvas.
Wrapping the functionality of a native media player requires a separate assembly for each platform, since a player may simply not support all the required platforms. For example, VLCJ does not support Linux. Moreover, you may need to install on the target platform the missing video and audio codecs to play various media formats.
Using web browser capabilities
Nowadays, we consume most of the media content via web browsers. They work on multiple platforms and can play various audio and video formats. Moreover, they have all the necessary functions for playing media content. Why not use the power of a web browser to play media content in a Java desktop application?
In this article, I will describe one more way of building a cross-platform Java media player that you can use in your Java Swing, JavaFX, or SWT application. I am going to:
- Integrate a web browser control into a simple Java Swing application using JxBrowser.
- Load the HTML web page that will play the required video using HTML5 capabilities.
- Control the playback through JavaScript commands that will be called directly from Java code.
JxBrowser is a commercial Java library that allows you to leverage the power of Chromium in cross-platform Java Swing, JavaFX, and SWT applications. It is best fit for companies that develop and sell software solutions built upon Java technology.
In the past, we were used to Flash Player presenting the media content of all kinds on a web page. It was very popular, but it reached its end of life in December 2020. At the moment, it is completely replaced by the HTML5 Video and Audio APIs.
There are two ways to play media content using the APIs:
- Work directly with the HTML5 Video and Audio APIs.
- Use a third-party JavaScript library such as Plyr, Video.js, etc.
In this article I am using the Plyr library — one of the most popular HTML5 media players. It’s pretty simple and easy to integrate with.
Implementation
Let’s create a demo program that demonstrates how to build a cross-platform Java media player using the Plyr JS library and JxBrowser.
First, we need to create an HTML page (media.html) in which
we include the JS library, embed a video player, and configure
the location of the target MP4 video file:
<!DOCTYPE html>
<html lang="en">
<head>
  <meta charset="UTF-8">
  <title>Java Media Player</title>
  <link rel="stylesheet" href="<https://cdn.plyr.io/3.6.8/plyr.css>"/>
</head>
<body style="margin:0">

<video id="player"
       controls
       crossorigin
       playsinline
       data-poster="<https://cdn.plyr.io/static/demo/View_From_A_Blue_Moon_Trailer-HD.jpg>">
  <source src="<https://cdn.plyr.io/static/demo/View_From_A_Blue_Moon_Trailer-720p.mp4>"
          type="video/mp4"/>
</video>

<script src="<https://cdn.plyr.io/3.6.8/plyr.js>" crossorigin="anonymous"></script>
</body>
</html>
Next, we need to create a simple Java Swing application that shows a JFrame with the web browser and playback controls:
JFrame frame = new JFrame("Java Media Player");
frame.add(new MediaPlayer(), BorderLayout.CENTER);
frame.setVisible(true);
The MediaPlayer component contains the web browser and playback controls. It
has the following initialization logic:
engine = Engine.newInstance(
        EngineOptions.newBuilder(HARDWARE_ACCELERATED)
                // In this demo we load MP4 video file, so we have
                // to enable the corresponding proprietary features
                // that are disabled by default.
                .enableProprietaryFeature(ProprietaryFeature.H_264)
                .enableProprietaryFeature(ProprietaryFeature.AAC)
                // Enable the possibility to play video
                // programmatically from JavaScript without user
                // interaction on a web page.
                .enableAutoplay()
                .build());
Browser browser = engine.newBrowser();

// Inject an instance of JsPlayer into JavaScript to call
// its methods from JavaScript to inform about player events.
browser.set(InjectJsCallback.class, params -> {
    Frame frame = params.frame();
    JsObject window = frame.executeJavaScript("window");
    if (window != null) {
        player = new JsPlayer(frame);
        window.putProperty("java", player);
    }
    return Response.proceed();
});

// Get absolute path to the media.html file with the JS video
// player, load it and wait until the file is loaded completely, so
// we can build the player UI controls.
URL resource = MediaPlayer.class.getResource("/media.html");
if (resource != null) {
    browser.navigation().loadUrlAndWait(resource.toString());
}

// Create a visual Swing control that will display content of
// the web page with video.
BrowserView view = BrowserView.newInstance(browser);
view.setPreferredSize(new Dimension(1280, 720));

// Embed the control into Java Swing Frame.
setLayout(new BorderLayout());
add(view, BorderLayout.CENTER);
add(playbackControls(), BorderLayout.SOUTH);
Let me explain what I do in this initialization logic.
In the code above, I configure the Engine instance, equivalent
to the Google Chrome application, with several options:
- Enable the H264 and AAC proprietary features to be able to play MP4 video;
- Enable the possibility to play video programmatically from JavaScript without user interaction on the web page.
Then I create a Browser instance, equivalent to a Chrome
tab, and load the media.html file. To display content of the HTML
file I create a Swing BrowserView control and embed it into
a Java frame.
In the demo application I decided to use the following media player functionality:
- Play and pause;
- Mute and unmute;
- Change volume;
- Get the duration of the video in seconds;
- Get notifications when the current playback time has been changed;
- Set the current playback time.
For each of the described playback functionality I create a corresponding Java Swing GUI control, so that the final playback panel has the following look:

Now, I need to bind these controls with the corresponding
functionality of the JS media player. For example, when I click
the Play button, I need to invoke the player.play() JS function.
To do so, I use the corresponding JxBrowser API:
frame.executeJavaScript("player.play()");
To get notifications from JavaScript when the playback has been changed, I need
to define a public Java class with the public methods marked with
the @JsAccessible annotation as shown below:
public final class JsPlayer {
    @JsAccessible
    public void onTimeUpdated(double currentTime) {
        listeners.forEach(listener -> listener.accept(currentTime));
    }
}
Let’s also create an instance of this class and inject it into JavaScript using the following JxBrowser API:
browser.set(InjectJsCallback.class, params -> {
    Frame frame = params.frame();
    JsObject window = frame.executeJavaScript("window");
    if (window != null) {
        player = new JsPlayer(frame);
        window.putProperty("java", player);
    }
    return Response.proceed();
});
The methods annotated with @JsAccessible are “visible” for JavaScript and can
be invoked when a corresponding event has been triggered.
In the media.html file I need to add the JavaScript code that will notify Java
side about different playback events:
<script>
  player.on('timeupdate', event => {
    java.onTimeUpdated(player.currentTime);
  });
  player.on('volumechange', event => {
    java.onVolumeChanged(player.volume, player.muted);
  });
  player.on('play', event => { java.onPlaybackStarted(); });
  player.on('pause', event => { java.onPlaybackPaused(); });
</script>
The complete source code for the program and media.html is available
on
GitHub.
Results
If you compile and run the program, you will see the following output:
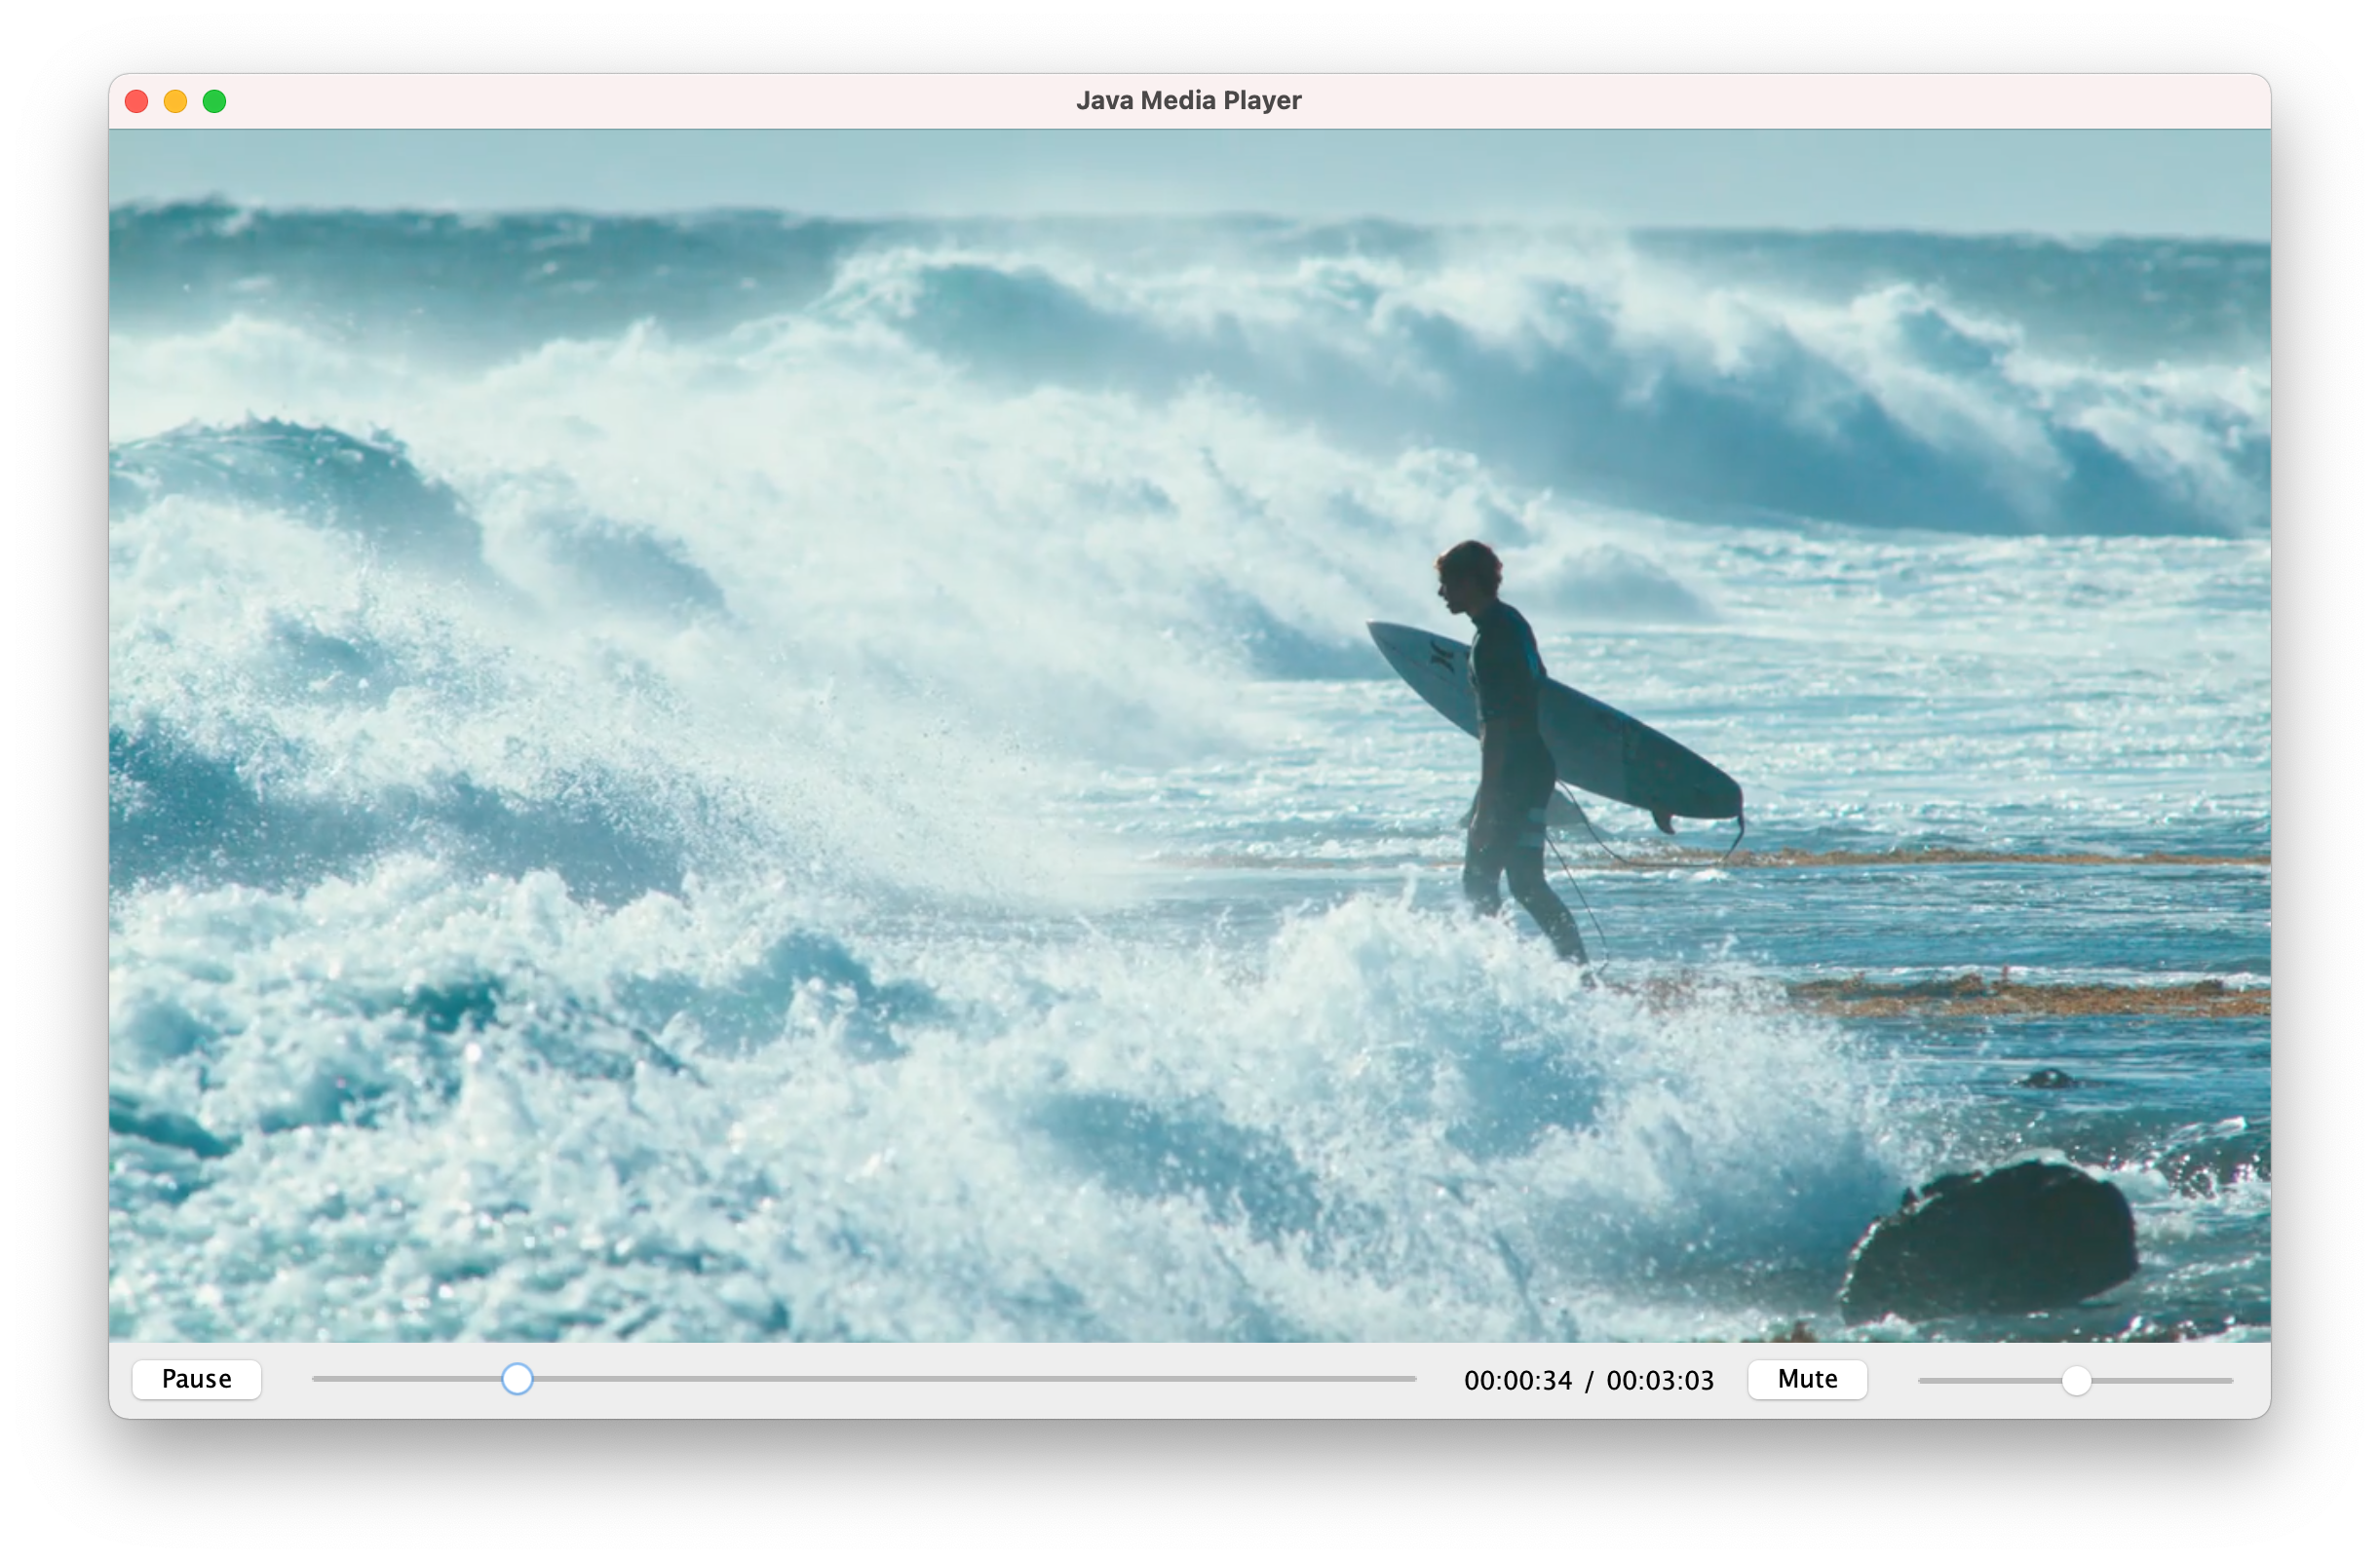
Java Media Player Demo Application
JxBrowser is cross-platform, so this approach will work on all platforms with no extra effort from your side.
Conclusion
HTML5 video functionality is sufficient to build a custom media player to play most of the popular video and audio formats on various platforms.
Hope the approach described in this article will be helpful for you. Looking forward to your comments and suggestions.